How to Measure Distance and Area in Google Earth Pro: A Beginner's Guide
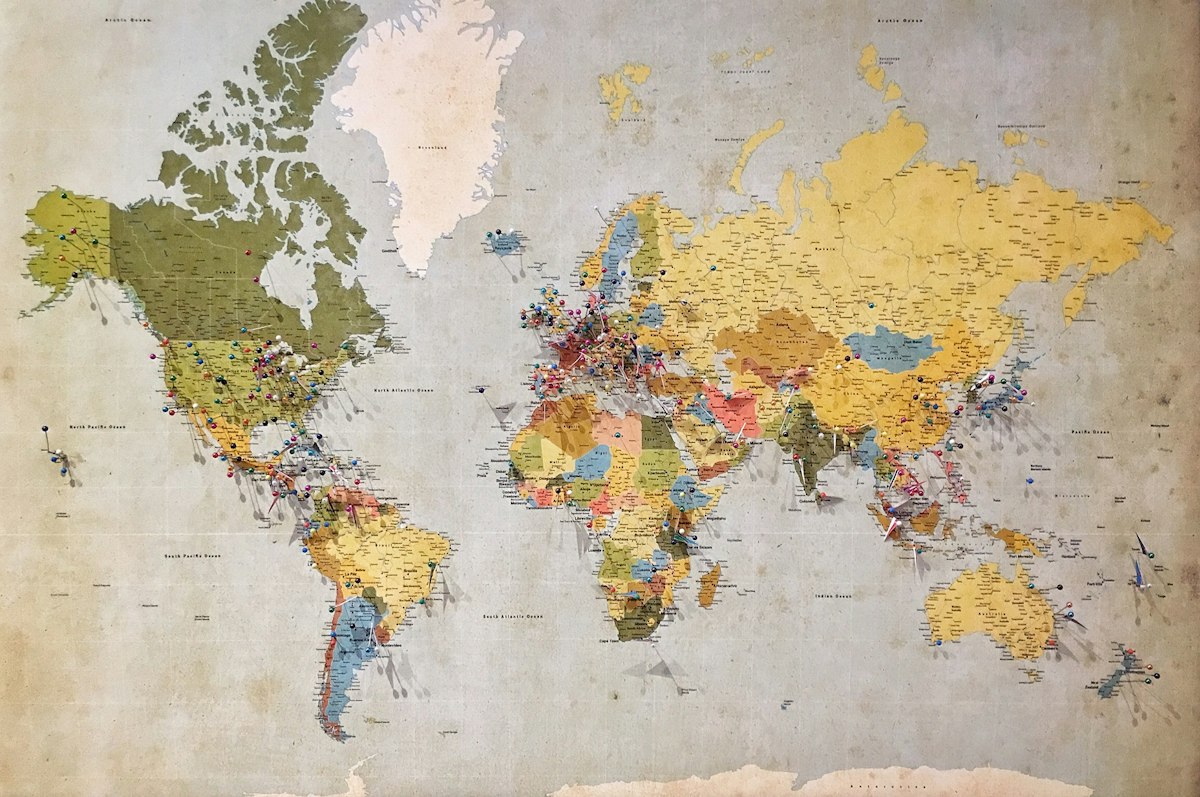
- Primary Signal: How to Measure Distance and Area in Google Earth Pro: A Beginner's Guide
- Overview: Google Earth Pro has a free measuring tool that handles distances, paths and areas without any GIS software. This guide shows where the tool lives, how to trace a boundary, and how...
- Verification: Analyzed and compiled by FreeSky GeoData editorial monitoring desk.
Google Earth Pro is free, and its measuring tool is one of the most useful features in it. With a few clicks you can measure the length of a road, the distance between two villages, the perimeter of a field, or the area of a plot of land, all on top of real satellite imagery. It is not a replacement for a proper GIS when you need survey-grade accuracy or a repeatable workflow, but for a quick answer, a rough estimate, or a check before a site visit, it is often the fastest tool available. This guide covers the tool itself and the habits that keep its numbers honest.
The measuring tool works on the imagery Google Earth already has, which is usually high-resolution aerial or satellite imagery for most populated areas. That means you can trace features you can see: a field boundary, a rooftop, a stretch of river. You cannot measure what you cannot see clearly, and the accuracy of any measurement depends on the accuracy of the imagery and on how carefully you place your points, so treat the results as good estimates rather than survey data.
Measuring a distance or a path
Open Google Earth Pro and navigate to your area of interest. Click the ruler icon in the toolbar, or go to Tools and then Ruler, and a small measurement window appears. Choose the Line tab for a straight distance between two points, or the Path tab for a route that follows bends, such as a road or a river. Click your starting point on the map, then click each point along the route; Google Earth draws the line and updates the total length live in the measurement window.
You can change the units in the dropdown: metres, kilometres, miles, feet, yards, or even nautical miles. For a straight-line distance, two clicks are enough. For a winding path, add more points along the curves rather than fewer, because a path drawn with too few points cuts corners and underestimates the true length. If you make a mistake, right-click or press delete to remove the last point, and click Save if you want to keep the measurement as a placemark in your Places panel for later.
Measuring an area and a perimeter
For area, use the Polygon tab in the same Ruler window. Click around the boundary of the feature you want to measure, a field, a rooftop, a lake, and close the shape by clicking the first point again. Google Earth shows the area and the perimeter together, and you can switch the area units between square metres, hectares, acres, square kilometres, square feet and square miles. A hectare is the most useful unit for land, and an acre for anyone working with imperial measurements.
The accuracy of an area measurement depends on how carefully you trace the boundary. Zoom in close, follow the visible edge of the feature, and add enough points to follow curves properly. A field traced from a zoomed-out view will have straight edges where the real boundary curves, and the area will be off. If the imagery is old or the boundary has changed since the photo was taken, say so in your notes: the measurement describes the imagery, not necessarily the ground as it is today.
Getting reliable numbers and saving your work
Three habits make Google Earth measurements far more reliable. First, check the imagery date, shown in the status bar, because a measurement of a field that has since been built on is a measurement of the past. Second, measure twice: trace the same feature a second time and compare the results. If the two attempts differ by more than a few percent, your tracing is too rough and you should zoom in and add more points. Third, remember that Google Earth's elevation and imagery can be slightly offset in hilly terrain, so treat measurements on steep slopes as approximate.
Save anything you want to keep. A measurement saved as a placemark can be exported as a KML file and opened in QGIS or shared with a colleague, which makes Google Earth a handy first step in a longer workflow: sketch the area in Earth, export the KML, and do the serious analysis in QGIS. You can also use the measuring tool alongside the historical imagery slider to compare how an area has changed between two dates, which is a quick way to estimate growth or shrinkage before committing to a full satellite analysis.
Frequently Asked Questions
Q: Is Google Earth Pro free?
A: Yes. Google Earth Pro is free to download and use, and the measuring tool is included. There is no paid version required for measuring distances and areas.
Q: How accurate are measurements in Google Earth Pro?
A: Good enough for planning and estimates, typically within a few metres on flat ground with clear imagery. They are not survey-grade, and accuracy drops on steep terrain or where the imagery is old or low resolution.
Q: Can I measure area in hectares in Google Earth Pro?
A: Yes. In the Ruler window, use the Polygon tab and choose hectares, acres, square metres or square kilometres from the units dropdown for the area result.
📖 Continue Reading the Full Story
Continue reading this article on FreeSky GeoData.
⚡ Access Full Content NowMore from FreeSky GeoData


 🛰️ FreeSky Aerial
How to Shoot a Drone Hyperlapse: A Beginner's Step-by-Step Guide
A hyperlapse turns a slow drone flight into a spectacular rushing video. Pick a subject with a clear path, use...
 🔭 FreeSky Cosmos
How to Find the Orion Nebula With Binoculars: A Beginner's Winter Guide
The Orion Nebula is the brightest nebula in the sky and one of the easiest deep-sky objects for a beginner. Al...
 ⚡ CyberTech 568
Step-by-Step Tutorial: Playback Speed Calculator — Video Time at Any Speed (Day 2 Guide)
How to accurately use the Playback Speed Calculator — Video Time at Any Speed on CyberTech 568. Discover essen...
🤖 WinBar AI
Step-by-Step Tutorial: YouTube Thumbnail Downloader & Grabber — 4K (Day 2 Guide)
How to accurately use the YouTube Thumbnail Downloader & Grabber — 4K on WinBar AI. Discover essential practic...